
Korea Subway Guide: How to Navigate and Transfer Like a Local
Welcome to the ultimate Korea Subway Guide. If you want to move effortlessly through Seoul and beyond, understanding this vast transit network is your very first step. The system is incredibly efficient, but it has its own unique rhythm. We found that Line 2 (Green Line) is the most convenient for looping around the major city hubs, but it is also the most densely crowded after 6 PM. If you are at Sindorim Station (신도림역) during rush hour, don’t swim against the tide—just follow the flow of the commuters.
For more deep-dive transit tips and local itineraries, explore our Travel & Transportation section.
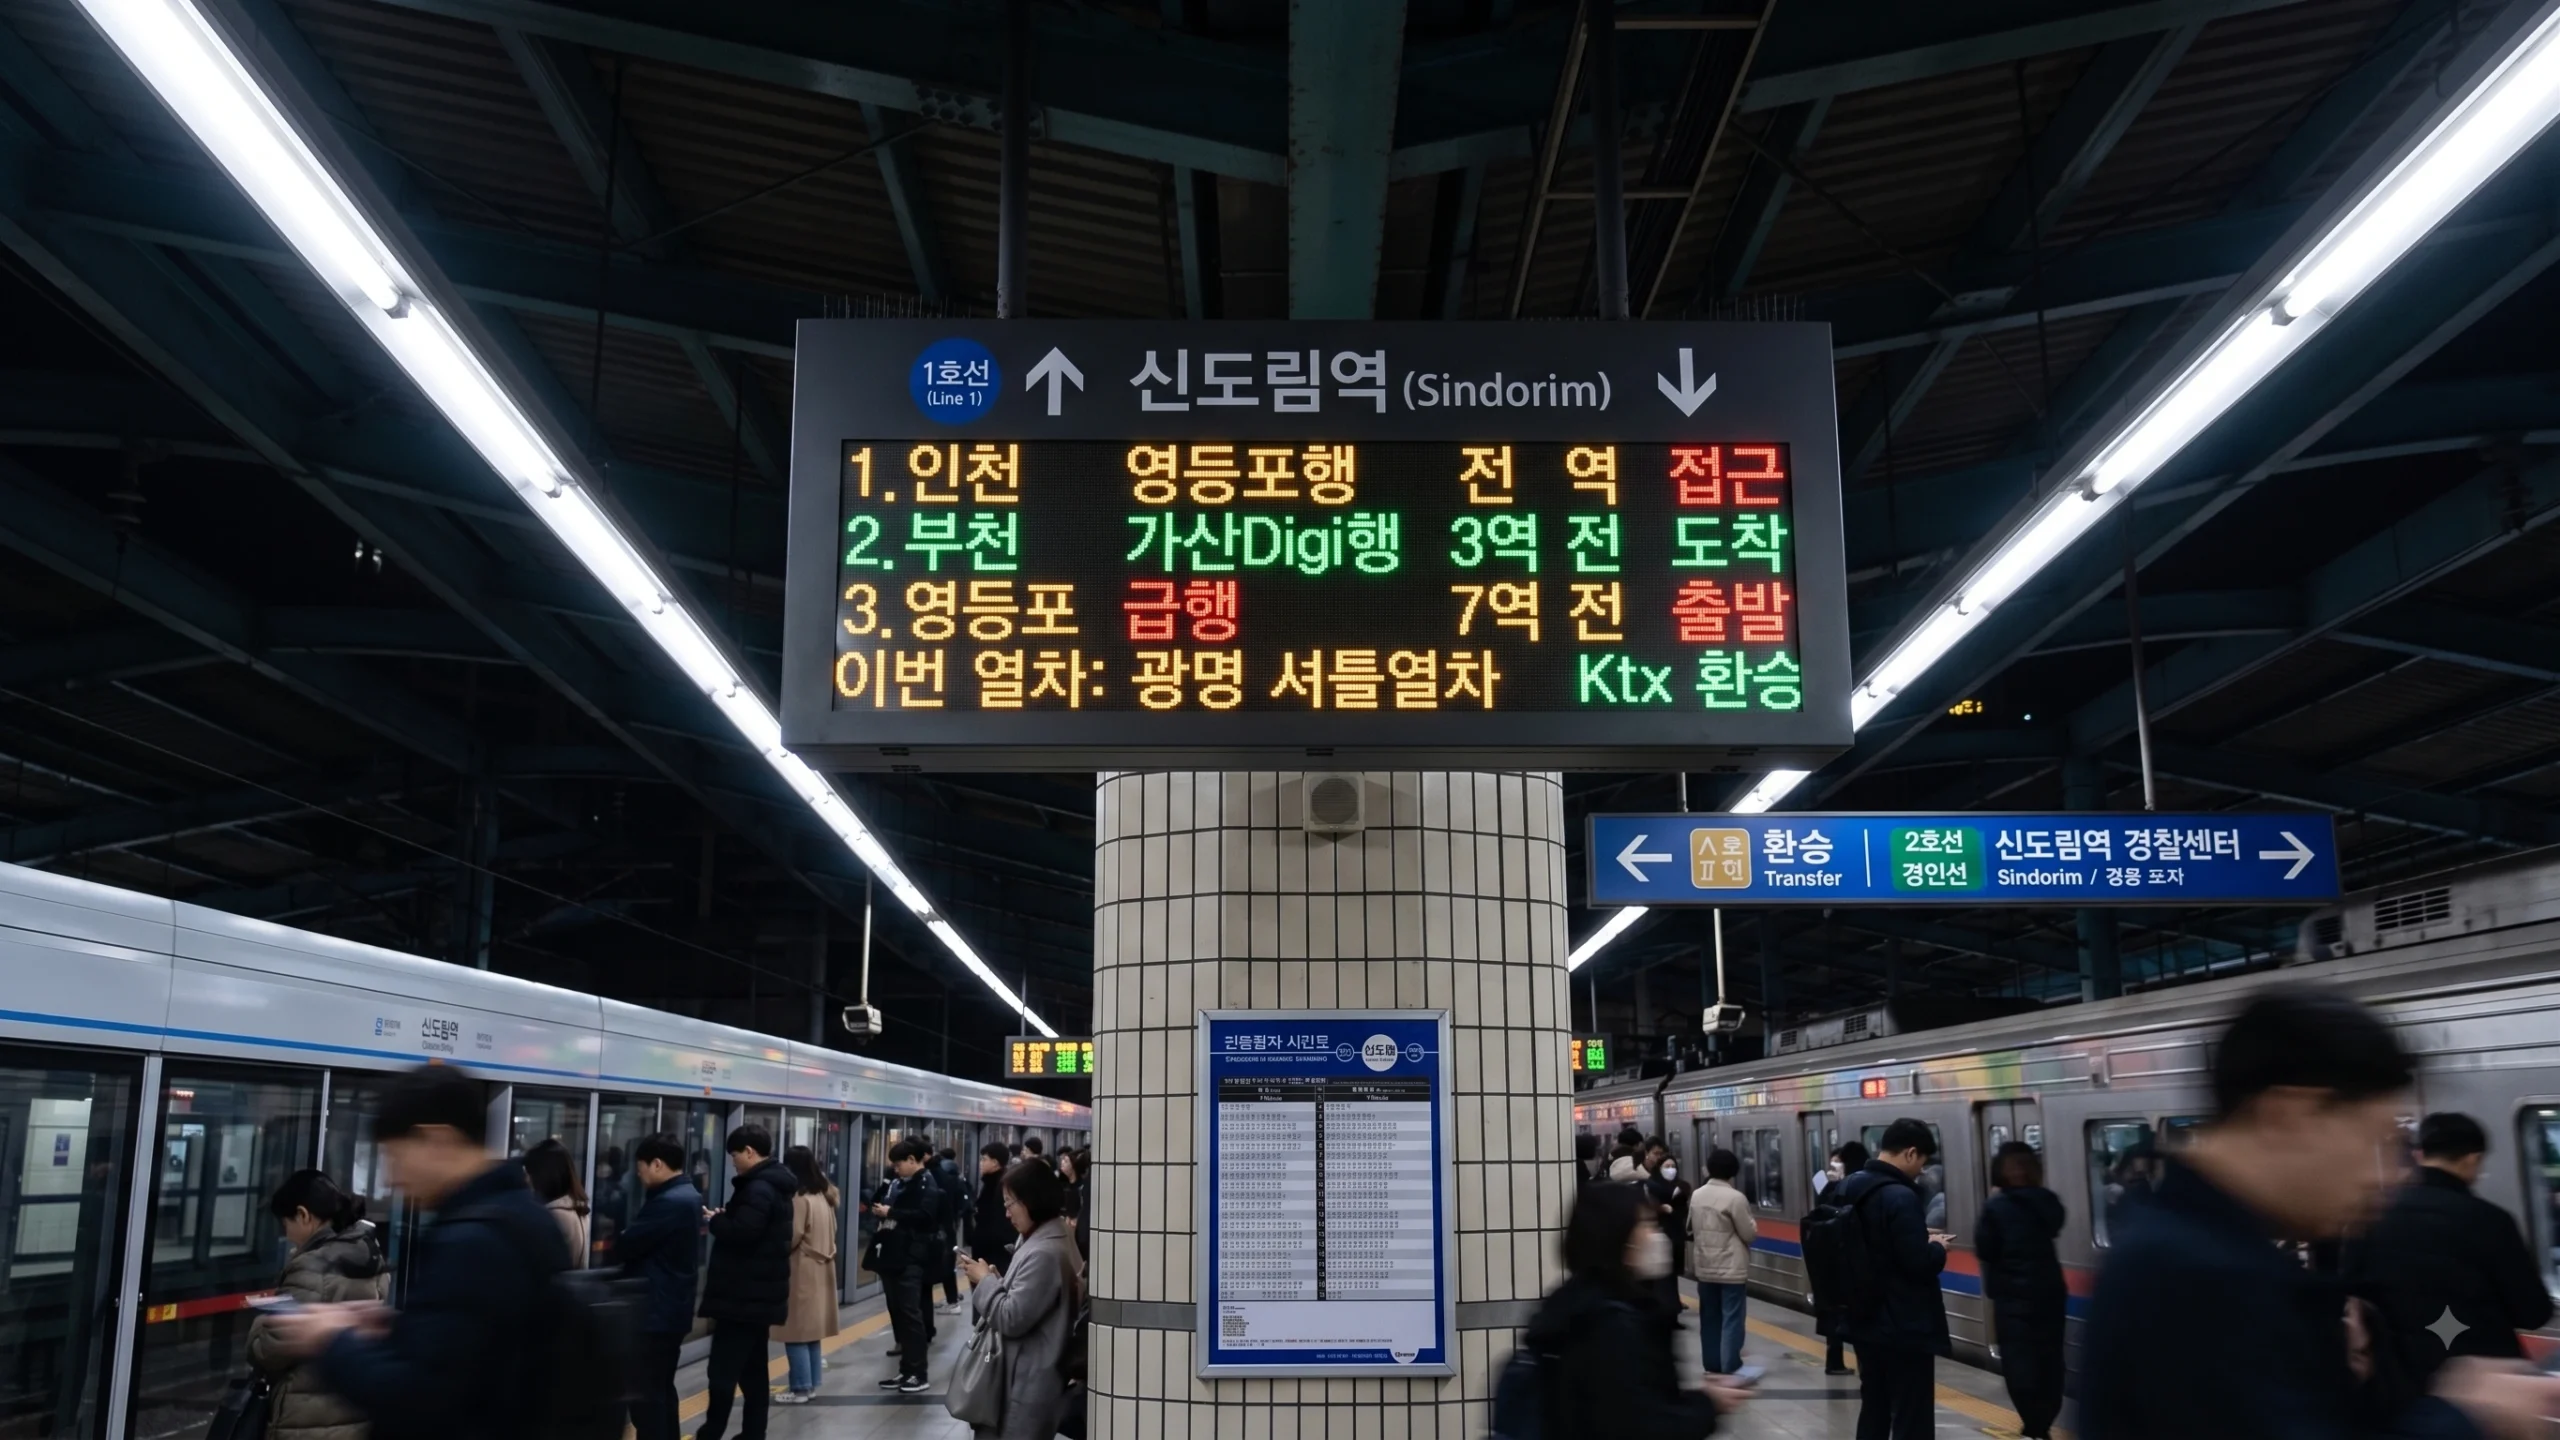
Step-by-Step Korea Subway Guide for First-Timers
The barrier to entry is low, but you need the right tools. Your phone and a transit card are your lifelines underground.
Getting your hands on a T-Money Card (티머니 카드) is an absolute must. Buy one at any convenience store like CU, GS25, or 7-Eleven right at the airport. You must top it up using physical cash at the automated ticketing machines inside the station.
Tourist Mistakes to Avoid: Not checking the direction before tapping the gate at older stations (where you can’t cross over without paying again).
Before swiping in, always look at the yellow ‘Bound For’ signs hanging above the turnstiles. Because Google Maps is notoriously unreliable for walking and transit here, any authentic Korea Subway Guide will mandate downloading Naver Map (네이버 지도). The app tells you exactly which terminal station your train should be heading toward, ensuring you never swipe into the wrong side of a separated platform.
Cracking the Transfer Logic in this Korea Subway Guide
Making a transfer (환승) looks intimidating on the sprawling map, but the physical reality is brilliantly color-coded. Follow the thick, brightly colored lines painted on the floors or ceilings pointing to your next train line.
What Locals Actually Do: Looking at the floor stickers in the transfer area (환승구간) to see exactly which car door (e.g., 4-4) aligns with the stairs at your destination station.
You will occasionally encounter secondary turnstiles when walking through transfer tunnels—especially when switching between distinct rail operators, like moving from Line 2 to the Shinbundang Line. Do not panic and assume you made a wrong turn. Simply tap your card on the reader. The gate makes a loud ‘beep’ sound, but the digital screen will display a zero-charge (0 KRW) transfer fee, provided you haven’t exceeded the 30-minute transfer window.

Korea Subway Guide to Navigating Massive Exits
Arriving at your destination station is only half the battle. The exits (출구) dictate your life above ground. Large hubs like Gangnam Station (강남역) or Jamsil Station have massive underground ecosystems. Taking Exit 2 instead of Exit 11 might mean you have to navigate across a ten-lane highway above ground. Always check the yellow overhead exit signs before you swipe out of the fare gates.
Because many of these sprawling stations double as massive underground shopping malls, taking a wrong turn often leads to unexpected retail therapy. If you want to explore the local shopping trends found in these underground concourses, check out our Culture & Entertainment section.
Best Time to Visit: Avoid the ‘Hell-train’ hours between 8:00 AM and 9:30 AM on Line 9, which is notorious for extreme congestion.